Assets
When the Assets Storage is enabled Squash will automatically add a new /assets/ mount point for all deployments within the repository. You can upload up to 100GB of data in this folder (additional charges apply, check out the pricing page).
How to enable the Assets Storage
Step 1
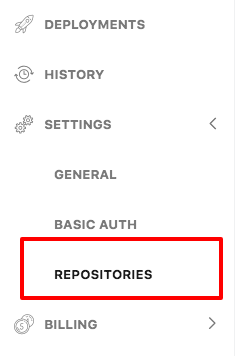
Go to the Squash Admin page and then click on Settings -> Repositories
Step 2
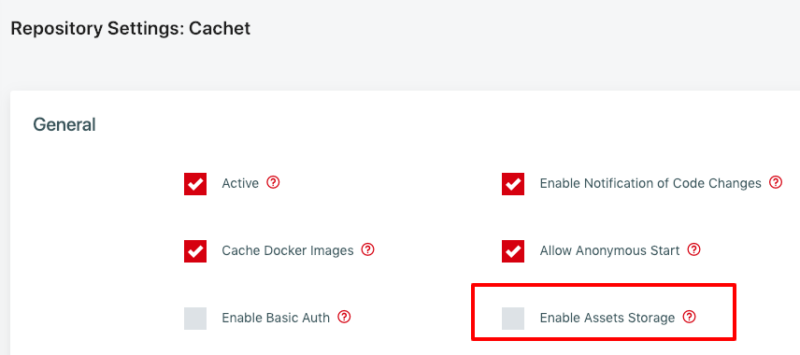
Pick a repository and click on “Settings”:

Step 3
Enable the Assets Storage
- Click on the checkbox “Enable Assets Storage”
- Click “Save”
Uploading files
There are currently 3 methods to upload files to the assets storage.
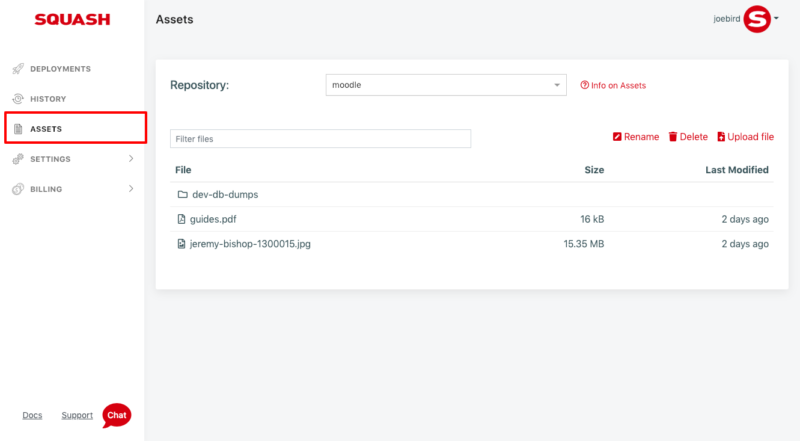
1. Web Interface
You can upload multiple files at once, create folders, edit and delete files from this interface. Note that it takes between 1 and 3 minutes for any changes to propagate and appear on all deployments.
Note: There is a file size limit of 1 GB for files uploaded from the Web Interface. You can upload any file size (up to 100GB) using either the API or directly from Squash deployments as mentioned below.
2. From any Squash deployment
You just need to SSH to any running deployment and upload files (using SCP or rsync) to the /assets/ folder, and that’s it. Your changes will automatically appear on all running deployments, within one minute or less.
3. API
This is a great option to automate the Assets update and run it on a regular basis.
You can use our Assets API to automate the process of updating the Assets Storage.
Using Assets within my applications
There are multiple ways you can use Assets within your applications.
Pre-seeded databases
Please check how to seed data into a database.